This pictorial training article is a must for inspectors who want to be better prepared to spot problems with residential electrical service panels, including service size, wiring, connections, and issues with the panel’s labeling and exterior.
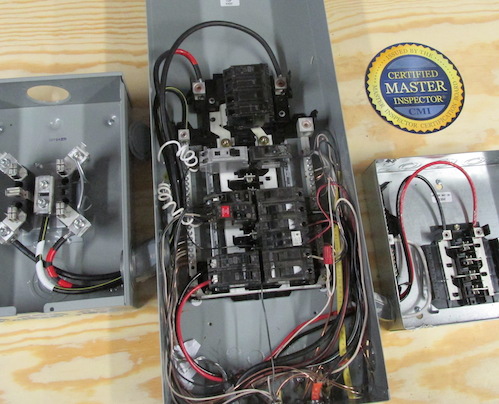
This photo shows a meter socket, load center, and auxiliary panel.
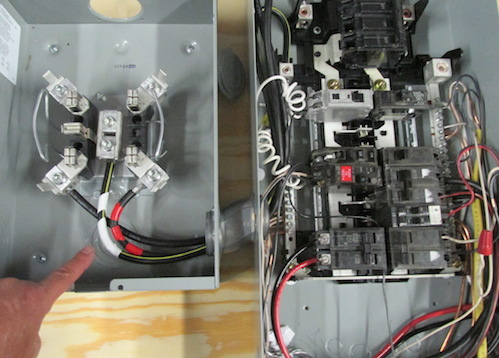
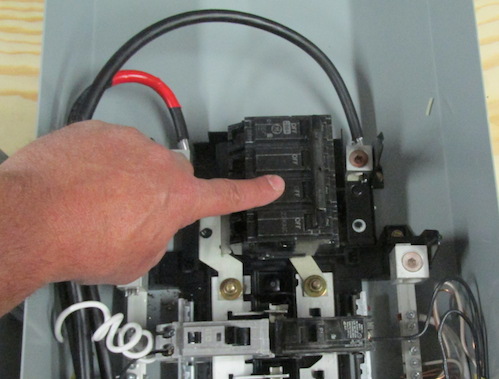
The photos above show undersized service conductors and a 200-amp service disconnect with #2 aluminum conductors. They should be 4-0.
This photo shows the following:
- an over-stripped conductor;
- nicked conductors; and
- no anti-oxidation paste on the current-carrying aluminum conductor (not required, but a good practice).
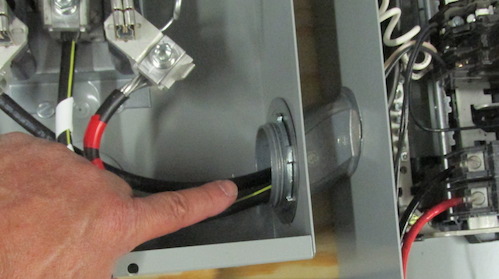
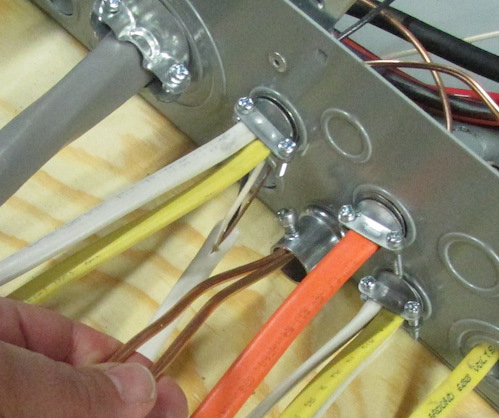
This shows a lack of nylon bushings for the service entrance conductors going through the offset, which are required when conductors are over AWG 4.

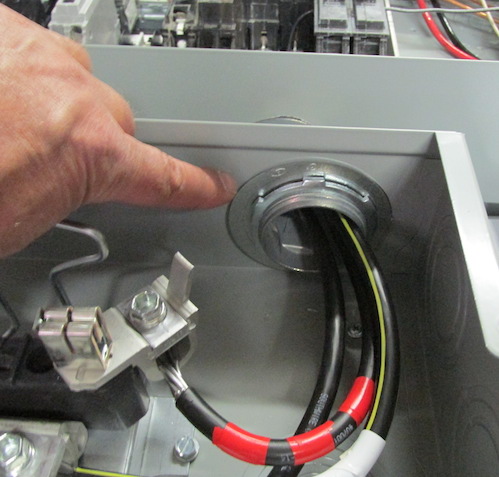
A reducing washer has been used on concentral knockouts of an ungrounded meter base, which does not meet service bonding requirements.

A non-wet location fitting has been used for entering the panel above an energized bus.
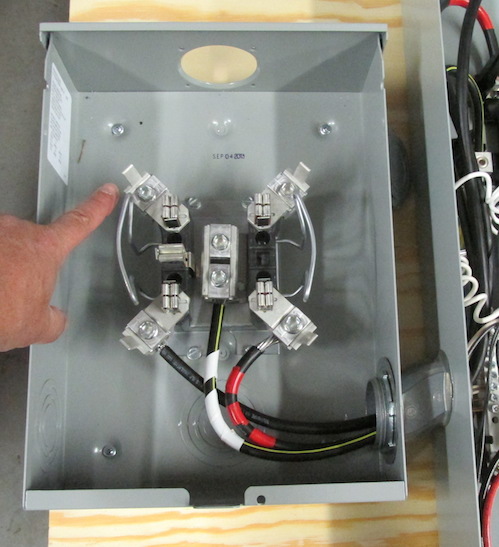
A horn bypass meter has been installed instead of a lever bypass. For new construction, all PUDs and MUDs have adopted the new lever bypass meter. The lever bypass meters provide meter maids with a safe-to-use lever so that they don’t need to install
a jumper or shut off the electricity to the house.
Not all strands are under the set screw of the lug.
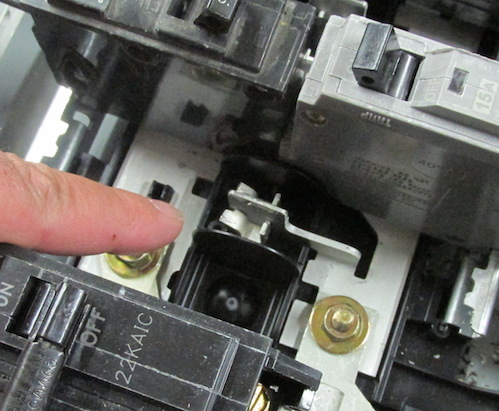
This shows a modified or damaged bus, which is often found when someone tries to install a breaker that doesn’t belong in the panel.
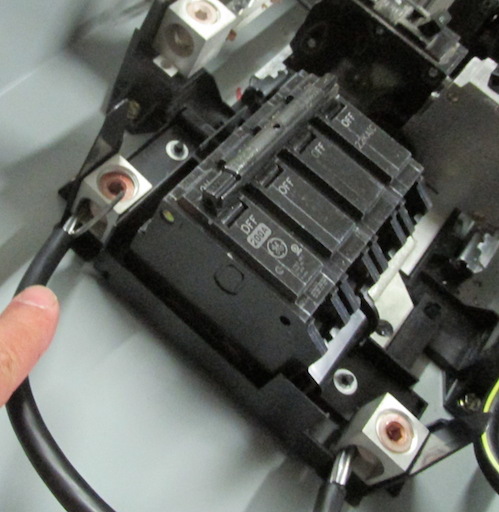
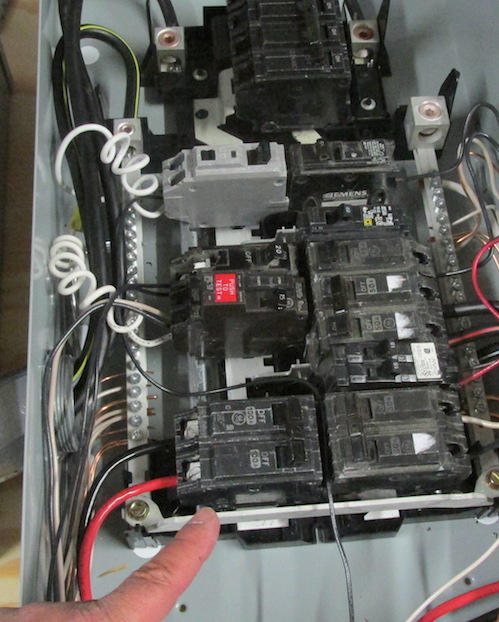
This photo shows breakers that are not listed for the panel, as well as multiple brands of breakers.
Depicted above is a double-lugged or double-tapped breaker.
This is a damaged breaker.
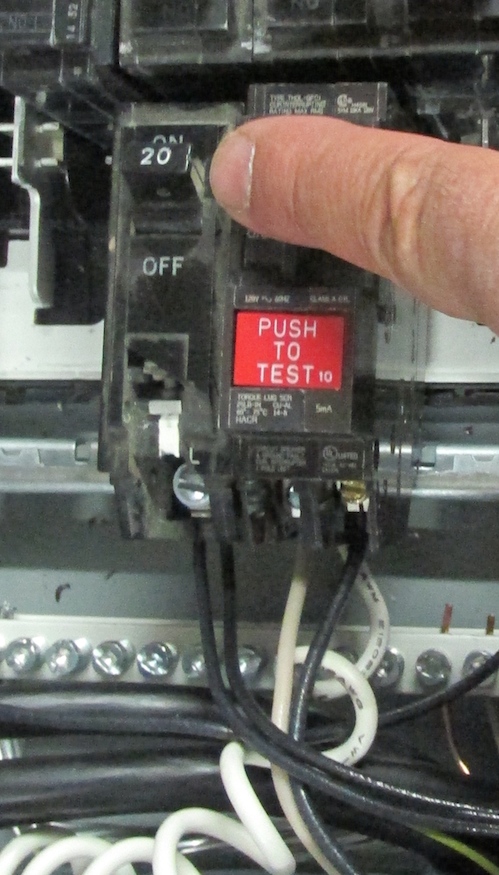
This is an over-fused conductor: a 20-amp breaker protecting a 14-gauge conductor.
The neutral and ground bus bar are not bonded to the panel, as indicated by:
- no green screw;
- no copper bond strap; and
- no #4 conductor bonded to the panel.
There is also debris in the bottom of the panel.

This conductor runs over an energized bus.
This is a loose conductor at the breaker.
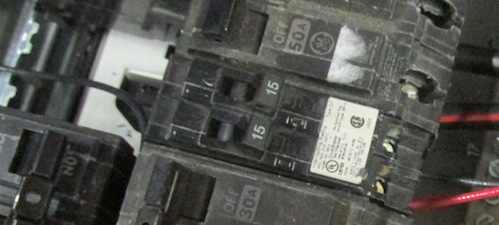
Multi-wire branch circuit issues shown above are indicated by:
- a mismatched tandem breaker on a single phase of the bus; and
- multi-wire branch circuit wires that are not grouped or zip-tied.
This phase conductor is not identified. It should be taped, typically using red tape (anything but white or green). It is also a 10-2 (two-conductor) cable used for a dryer circuit requiring four conductors.
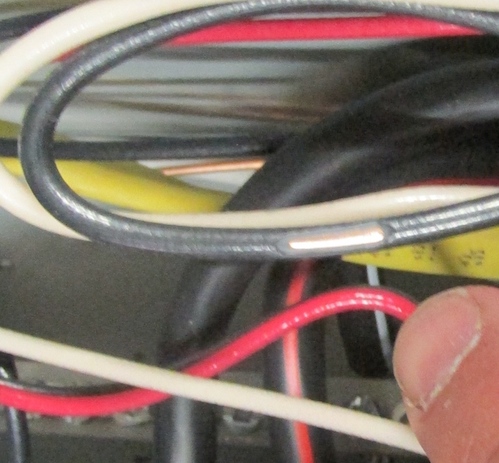
This is a nicked (exposed) conductor.
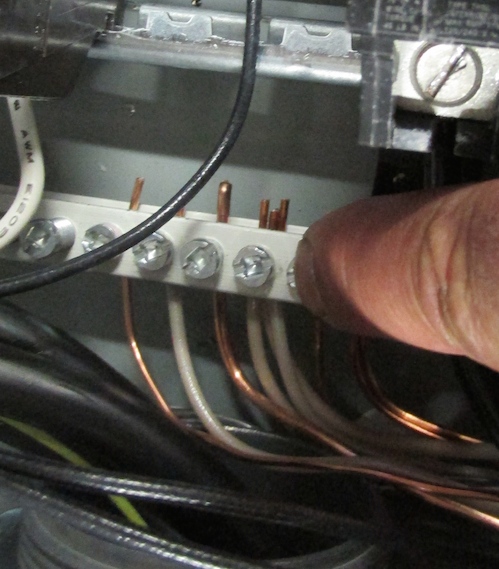
This shows three neutral conductors on one lug. Only one neutral conductor per lug is allowed.

The ground and neutral conductor are sharing the same lug.
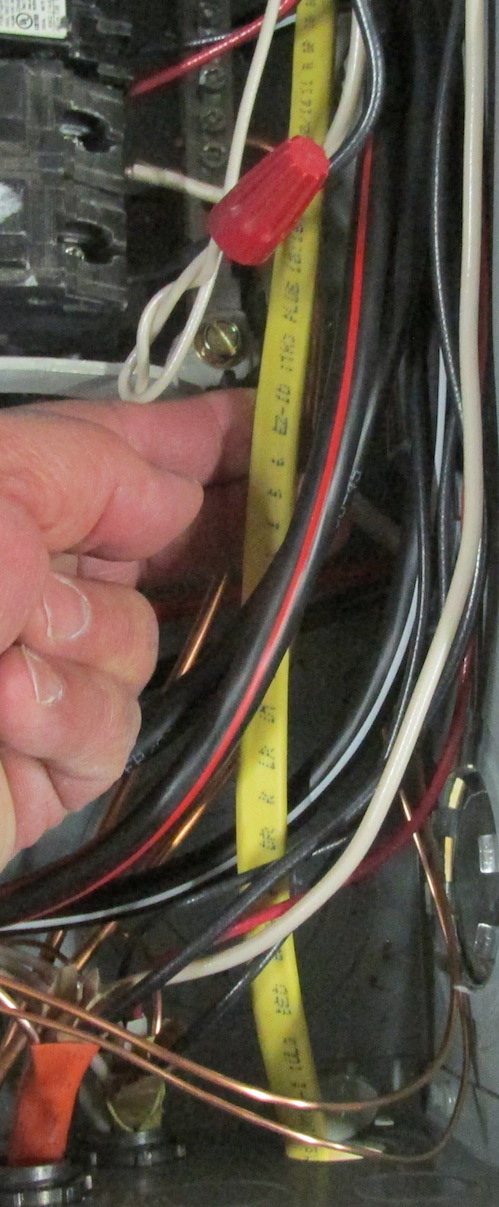
The yellow jacket was not removed. A neater practice is to remove any excess jacket.

This cable is entering the panel without a strain-relief or bushing.
Three cables are entering this panel through one strain-relief fitting.
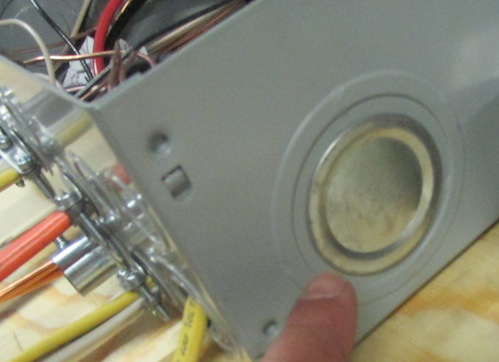
A non-weathertight knockout cover has been used on the side of this panel (which would be fine if it were at the bottom of the enclosure).
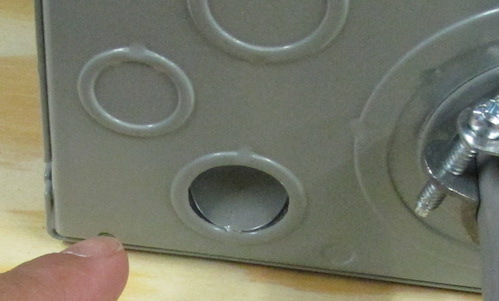
This shows an open knockout in the panel.

This cable is entering the panel without a strain-relief or jacket. The cable jacket is stripped beyond the entry.
Both forms of grounding are undersized. They should be #4 instead of #6.
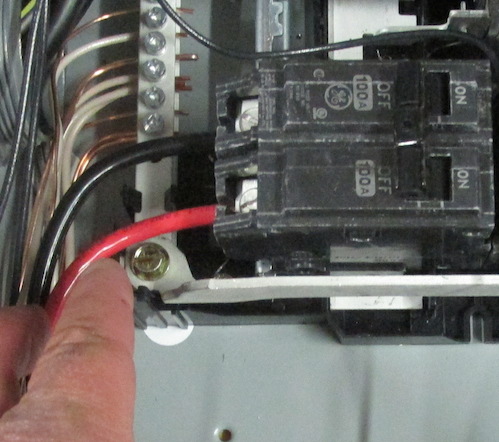
This 100-amp subpanel feed is located at the bottom of the bus assembly. Some believe the best practice would be to locate it near the top of the bus to dissipate any heat on the bus.
This 100-amp feeder breaker to the subpanel is protecting a #6 conductor.
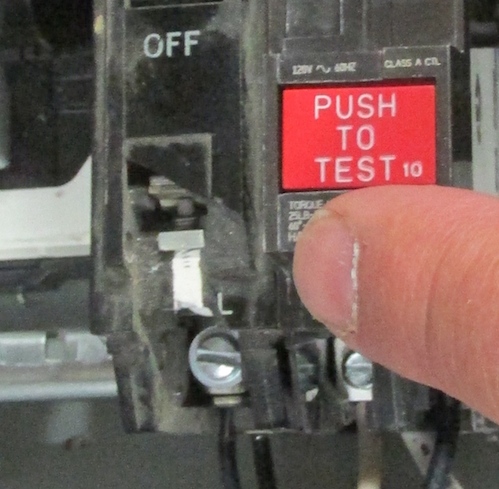
This branch circuit neutral conductor is attached to the neutral bus rather than to the AFCI neutral lug.

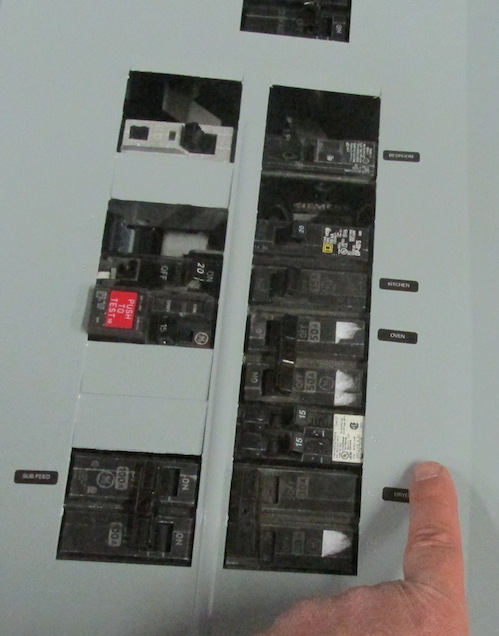
The breaker twist-out is missing. The panel requires filler plates or blanks.
This panel shows improper labeling. Every breaker should be labeled.

There is a missing panel cover screw.
This shows a missing utility tag. Removing it is considered meter tampering.

Signature Inspections Hawaii, LLC, is FULLY Insured & “NATIONALLY CERTIFIED” by InterNACHI. InterNACHI also requires inspectors to continue their education through accredited courses, conferences, online learning, etc… and annual Inspector Certificate Testing in order to hold a current certificate.
808.388.3425
Trevor Drinen | CPI Certified Professional Inspector # NACHI16122702
*For a more detailed explanation of the inspection process please feel free to visit: InterNACHI Residential Standards Of Practice and InterNACHI Code Of Ethics .


